Hungry kids burst through the door after a long day, and dinner time approaches quickly. Keeping evenings stress-free becomes much easier when you have a collection of homemade meals stored in the freezer, ready to go whenever you need them. By spending a bit of time over the weekend preparing and freezing dishes, you can make sure that every night ends with a delicious, comforting meal on the table. This guide explains how a little planning can take the rush out of dinnertime and help everyone sit down together to enjoy a warm, home-cooked plate without the usual chaos.
Practical Freezer Prep Ideas for a Smoother Evening
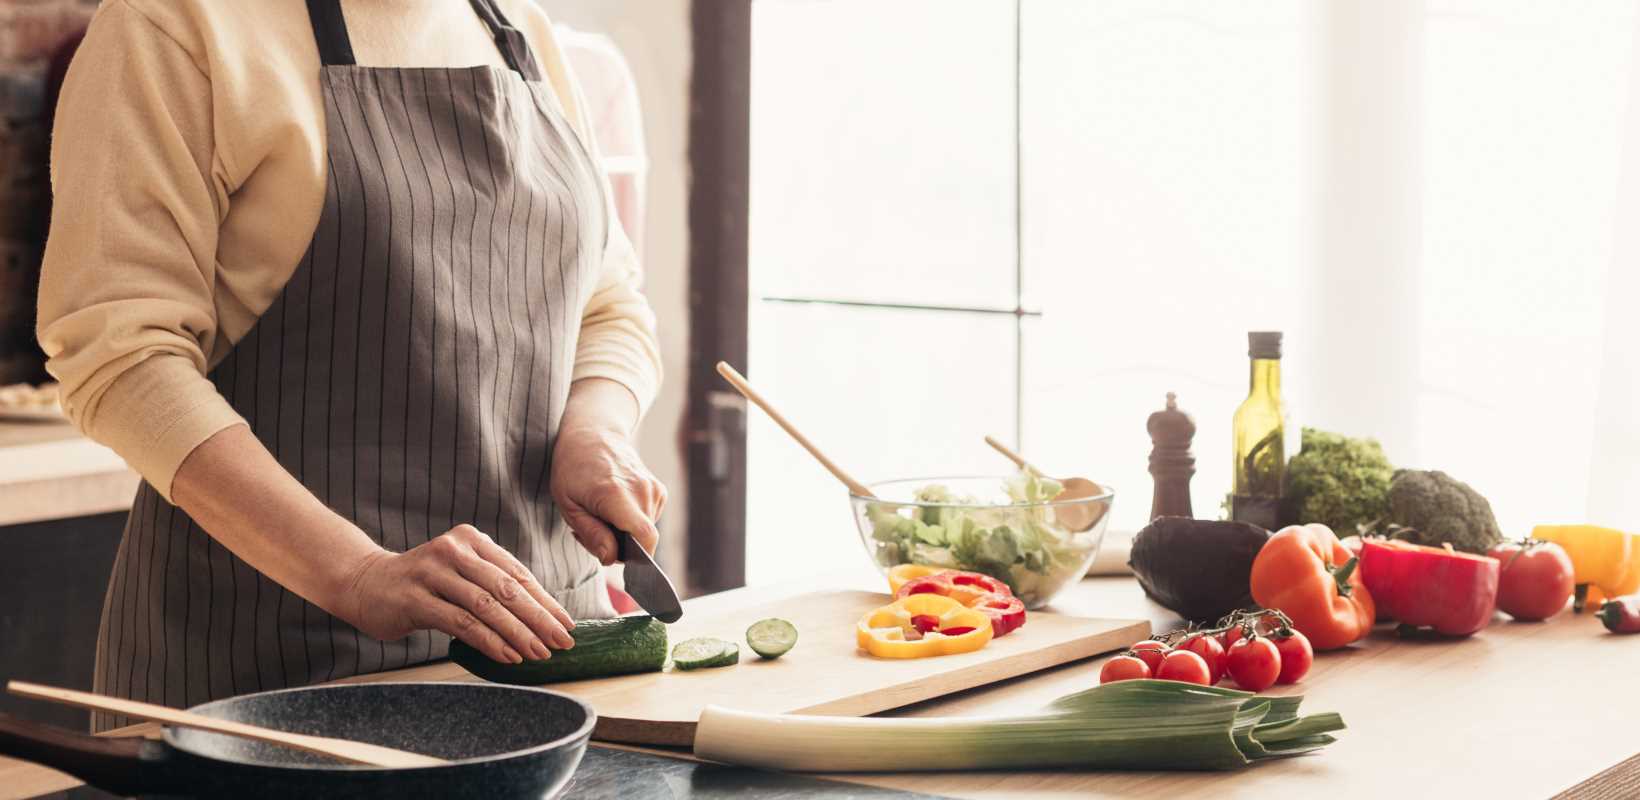
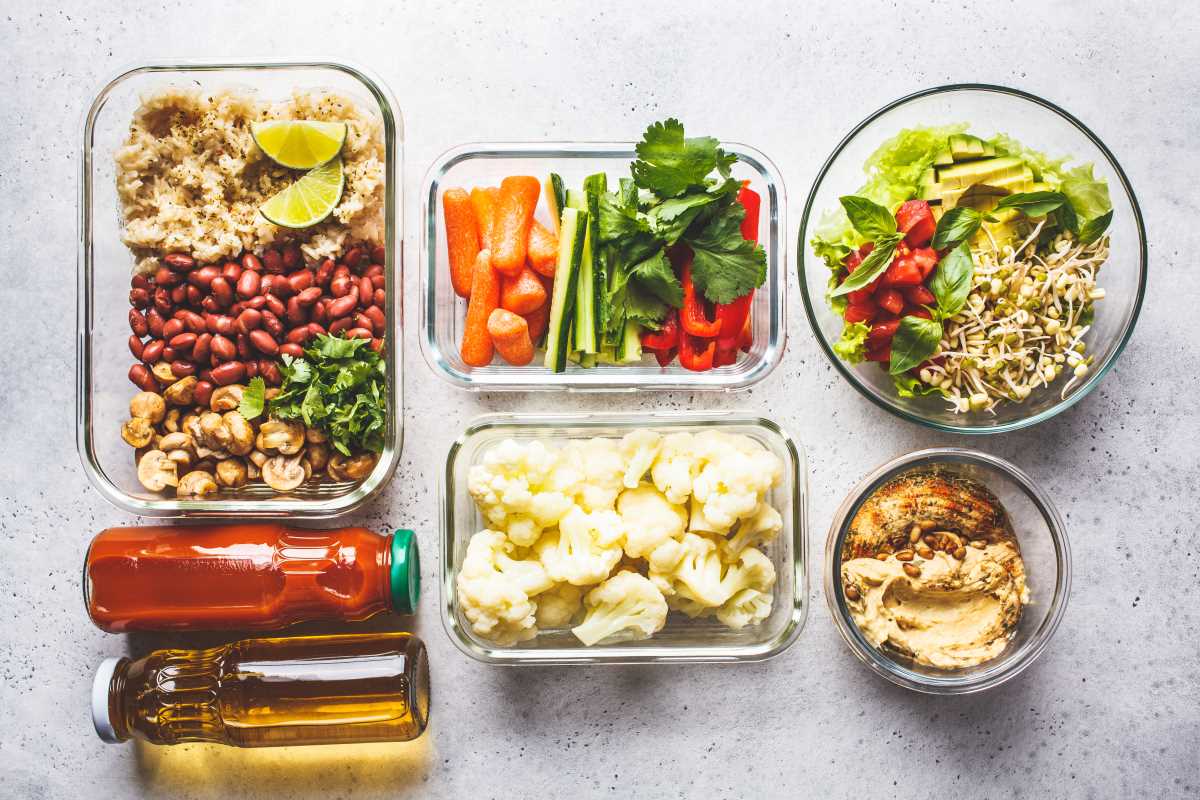
Put ingredients in advance to replace chaos with simple dinners. Spend your weekend chopping, seasoning, and dividing portions to prepare for weekdays filled with homework help, after-school chats, and a moment to breathe. Understand that preparing meals ahead of time helps you find extra moments to reconnect instead of rushing through reheating steps.
Pick recipes that please a variety of tastes—make customizable wraps or flavorful pasta batches that allow each family member to add their favorite extras. This way, you avoid dishes with a single flavor that might get rejected, and everyone can garnish their own plate. Use airtight containers or heavy-duty bags labeled with the date and contents to keep flavors fresh.
Rotate flavors to keep things interesting: spice up ground turkey one week, lean beef the next, then try a creamy bean casserole. This variety keeps appetites engaged, and each batch turns into multiple meals with added fresh sides or toppings. Make small tweaks like swapping cheddar for pepper jack or stirring in steamed broccoli to enhance the basic recipe.
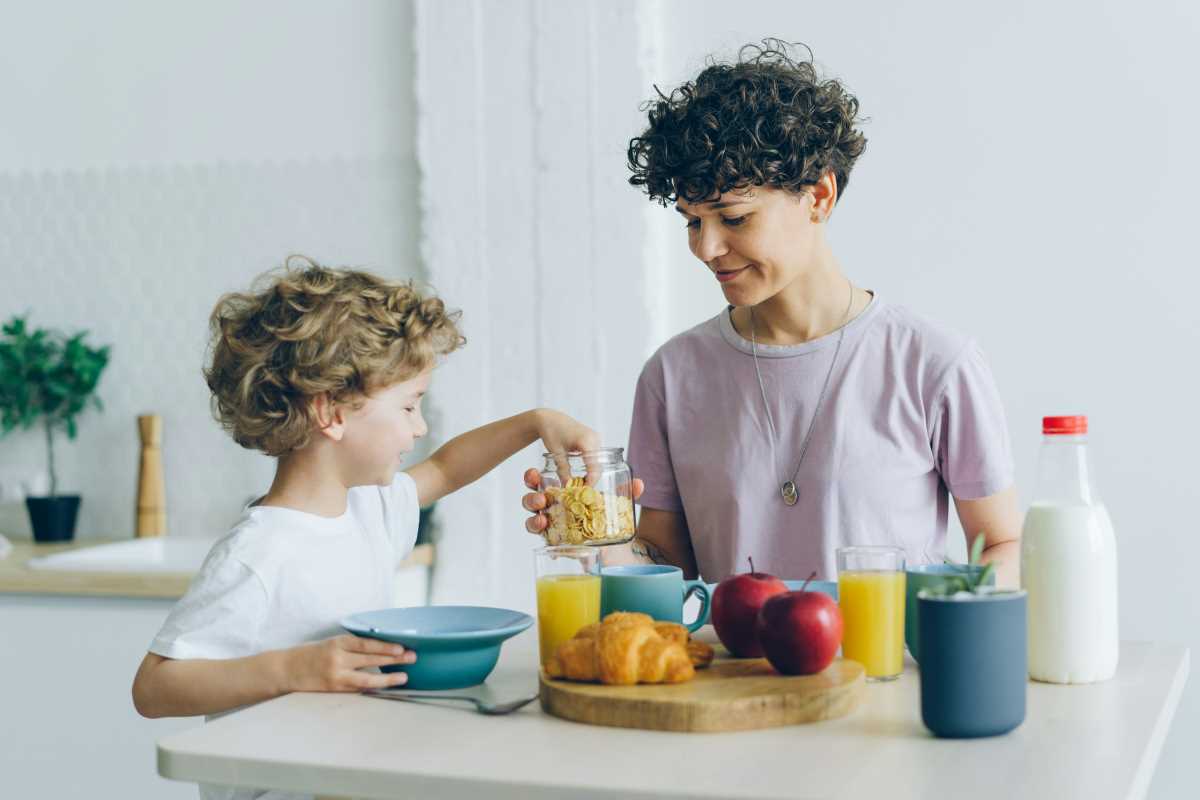
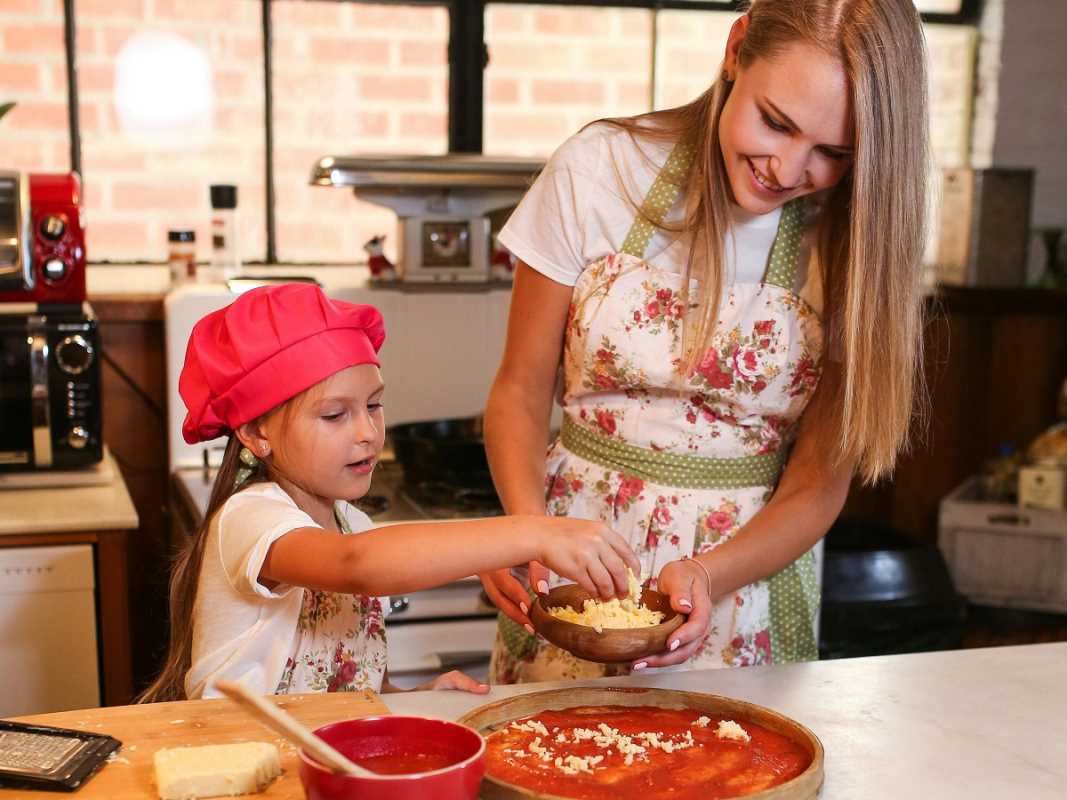
Make batch-cooking sessions into a fun kitchen project instead of a chore. Invite older kids to assemble portions or label containers, turning meal prep into a team effort that builds kitchen skills. Notice how sharing tasks lightens your workload and gives children a sense of pride when they see their contributions at dinnertime.
When it's time to eat, your freezer meals serve as a peaceful retreat. Reheat directly from the freezer or let dishes thaw overnight in the fridge, then serve with fresh greens or a quick salad kit. Dinner stress fades away, replaced by lively conversation and smiles around the table.
Hands-On Steps for Meal Prep
1. Protein Portioning
Purpose: Guarantee even cooking and easy grab-and-go servings later.
Step-by-Step:
- Spread ground meat, poultry, or legumes on a clean tray.
- Divide into consistent 1–1.5 cup portions.
- Wrap each in parchment.
- Seal in labeled freezer bags.
Cost/Availability: Ground turkey costs around $3 per pound.
Tip: Press bags flat and stack like books to save freezer space.
2. Veggie Prep Packs
Purpose: Mix colors and textures that store well and reheat evenly.
Step-by-Step:
- Wash and dry peppers, onions, broccoli, and carrots.
- Slice uniformly.
- Portion into reheatable containers.
Cost/Metric: About $0.50 per cup of mixed vegetables.
Tip: Blanch broccoli for 1 minute to preserve vibrant green color.
3. Sauce Assembly
Purpose: Enhance simple proteins with balanced flavors when reheated.
Step-by-Step:
- Sauté aromatics like garlic and onion.
- Add crushed tomatoes or stock and simmer.
- Pour into half-cup jars and seal.
Cost: About $0.75 per jar.
Tip: Stir in a spoonful of yogurt or cream after reheating for silky texture.
4. Herb-Infused Oils
Purpose: Add brightness and lift flavors without taking up much space.
Step-by-Step:
- Fill mini jars with olive oil.
- Add sprigs of rosemary, thyme, or chili flakes.
- Let sit for 24 hours and refrigerate.
Availability: Kitchen staples cost less than $5.
Tip: Label each bottle with date and ingredients to avoid confusion.
5. Grain Base Bundles
Purpose: Maintain a steady supply of versatile grains ready for bowls or sides.
Step-by-Step:
- Rinse rice, quinoa, or barley.
- Boil in a large pot with broth for extra flavor.
- Cool, divide into one-cup servings, and freeze.
Cost/Metric: Rice costs about $0.30 per cooked cup.
- Tip: Press each pouch flat to speed up future thawing.
Tools and Tips to Save Time
1. Silicone Freezer Trays
Use: Freeze soups or smoothies in pre-measured portions.
How-To:
- Fill each compartment with liquid.
- Cover with plastic wrap.
- Freeze until solid.
- Pop cubes into zipper bags to reuse the tray.
Tip: Each cube yields two servings—great for quick lunches.
2. Vacuum Sealer
Use: Extend shelf life by removing air and preserving flavor.
How-To:
- Fill a bag with food or liquid.
- Align in the sealer nozzle.
- Press seal and wait until vacuumed.
Tip: Insert a folded paper towel near the seal to absorb moisture and protect the machine.
3. Adjustable Baking Sheets
Use: Freeze proteins and vegetables in flat, separated layers.
How-To:
- Roast or par-bake items on a rimmed half-sheet pan.
- Cool completely.
- Freeze flat, then transfer to containers.
Tip: Line with silicone mats for easy cleanup and extended tray life.
4. Magnetic Clips with Labels
Use: Organize freezer bags by clipping them to the freezer door.
How-To:
- Seal the bag.
- Attach a magnetic clip at the top.
- Label with dry-erase marker.
Tip: Reuse clips by wiping and relabeling for the next batch.
5. Digital Food Thermometer
Use: Ensure proteins are cooked thoroughly before freezing.
How-To:
- Insert probe into thickest part of meat.
- Check for USDA-recommended temperature.
- Tip: Keep a dedicated thermometer in your prep zone to avoid cross-contamination.
Storage and Reheating Tips for Best Results
Arrange similar dishes by cuisine or protein type on the same freezer shelf. This makes it quick to find what you need. Use bold, waterproof markers to label bags so you can see the contents immediately. Clear containers help you spot sauces or grains without thawing everything.
When reheating, start with frozen casseroles in a cool oven set at 325°F, covered. This ensures even warming without burning the edges. For soups, transfer cubes into a pot, add some broth, and stir over medium-low heat until heated through. This approach prevents uneven cold spots or watery textures.
Spray leftovers lightly with water before microwaving. This small step adds moisture and prevents sogginess, keeping vegetables crisp. For pasta dishes, add a teaspoon of oil or butter to restore freshness. Remove lids during the last minute to let steam escape and avoid mushy textures.
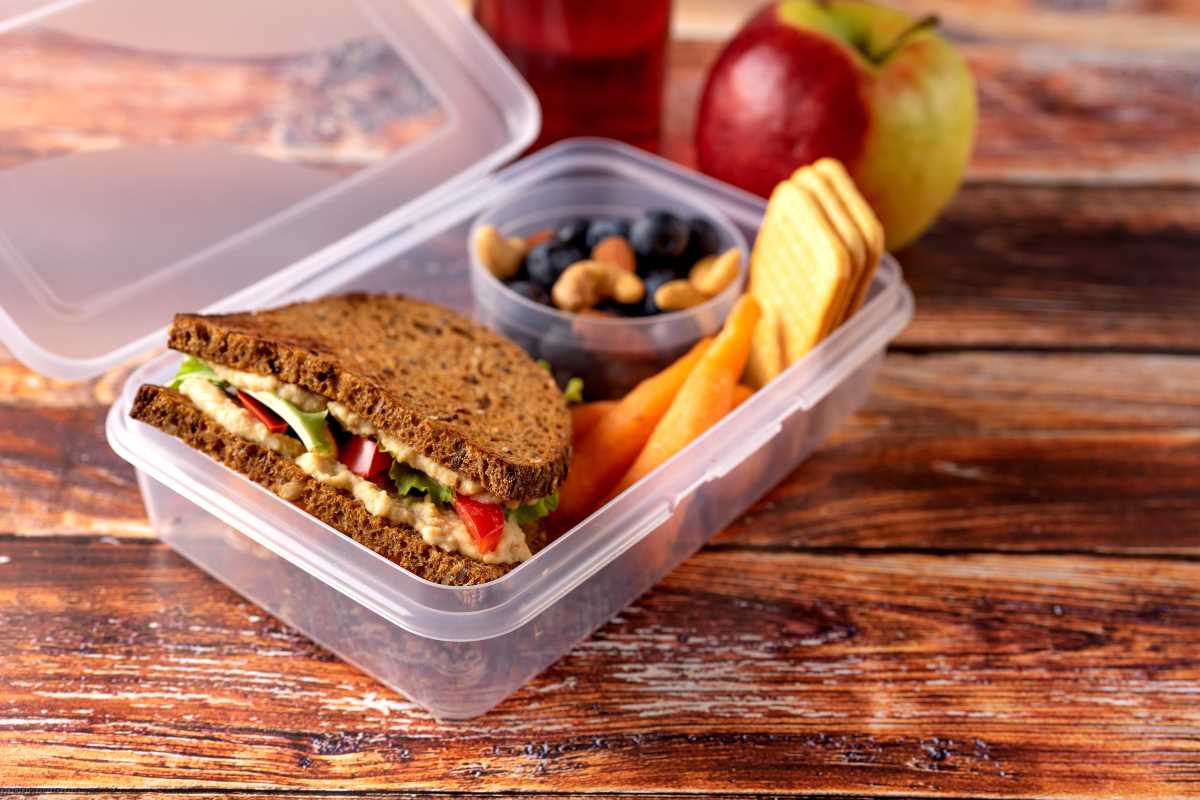
Divide snacks into small, single-serve portions by freezing energy bites or granola bars in paper liners. Take one for lunch or after sports. This keeps healthy options within easy reach instead of impulsively reaching for processed snacks. Kids learn to depend on prepared treats rather than vending-machine candies.
Perform a quick weekly check of your freezer inventory. Remove expired or seldom-used packages, bring older meals to the front, and note what needs restocking. Spending five minutes on this helps you save space, prevent waste, and identify which items work best for future plans.
Secrets for Effective Batch Cooking
Set aside one monthly session to prep meals across the day, using coolers and proper storage to lock in freshness. Let dishes cool fully before freezing, and streamline cleanup to stay motivated. With a tidy kitchen and full freezer, weekday dinners become simple, stress-free, and more enjoyable for the whole family.